About
Bio
Statement
CV
New Works
New Works
Process
Gallery
Clusters and Interruptions
Solo Show
Small Works
Solo Show FLOW
Contact
Menu
CYNTHIA VAICUNAS
Street Address
City, State, Zip
Phone Number
Your Custom Text Here
CYNTHIA VAICUNAS
About
Bio
Statement
CV
New Works
New Works
Process
Gallery
Clusters and Interruptions
Solo Show
Small Works
Solo Show FLOW
Contact
View fullsize
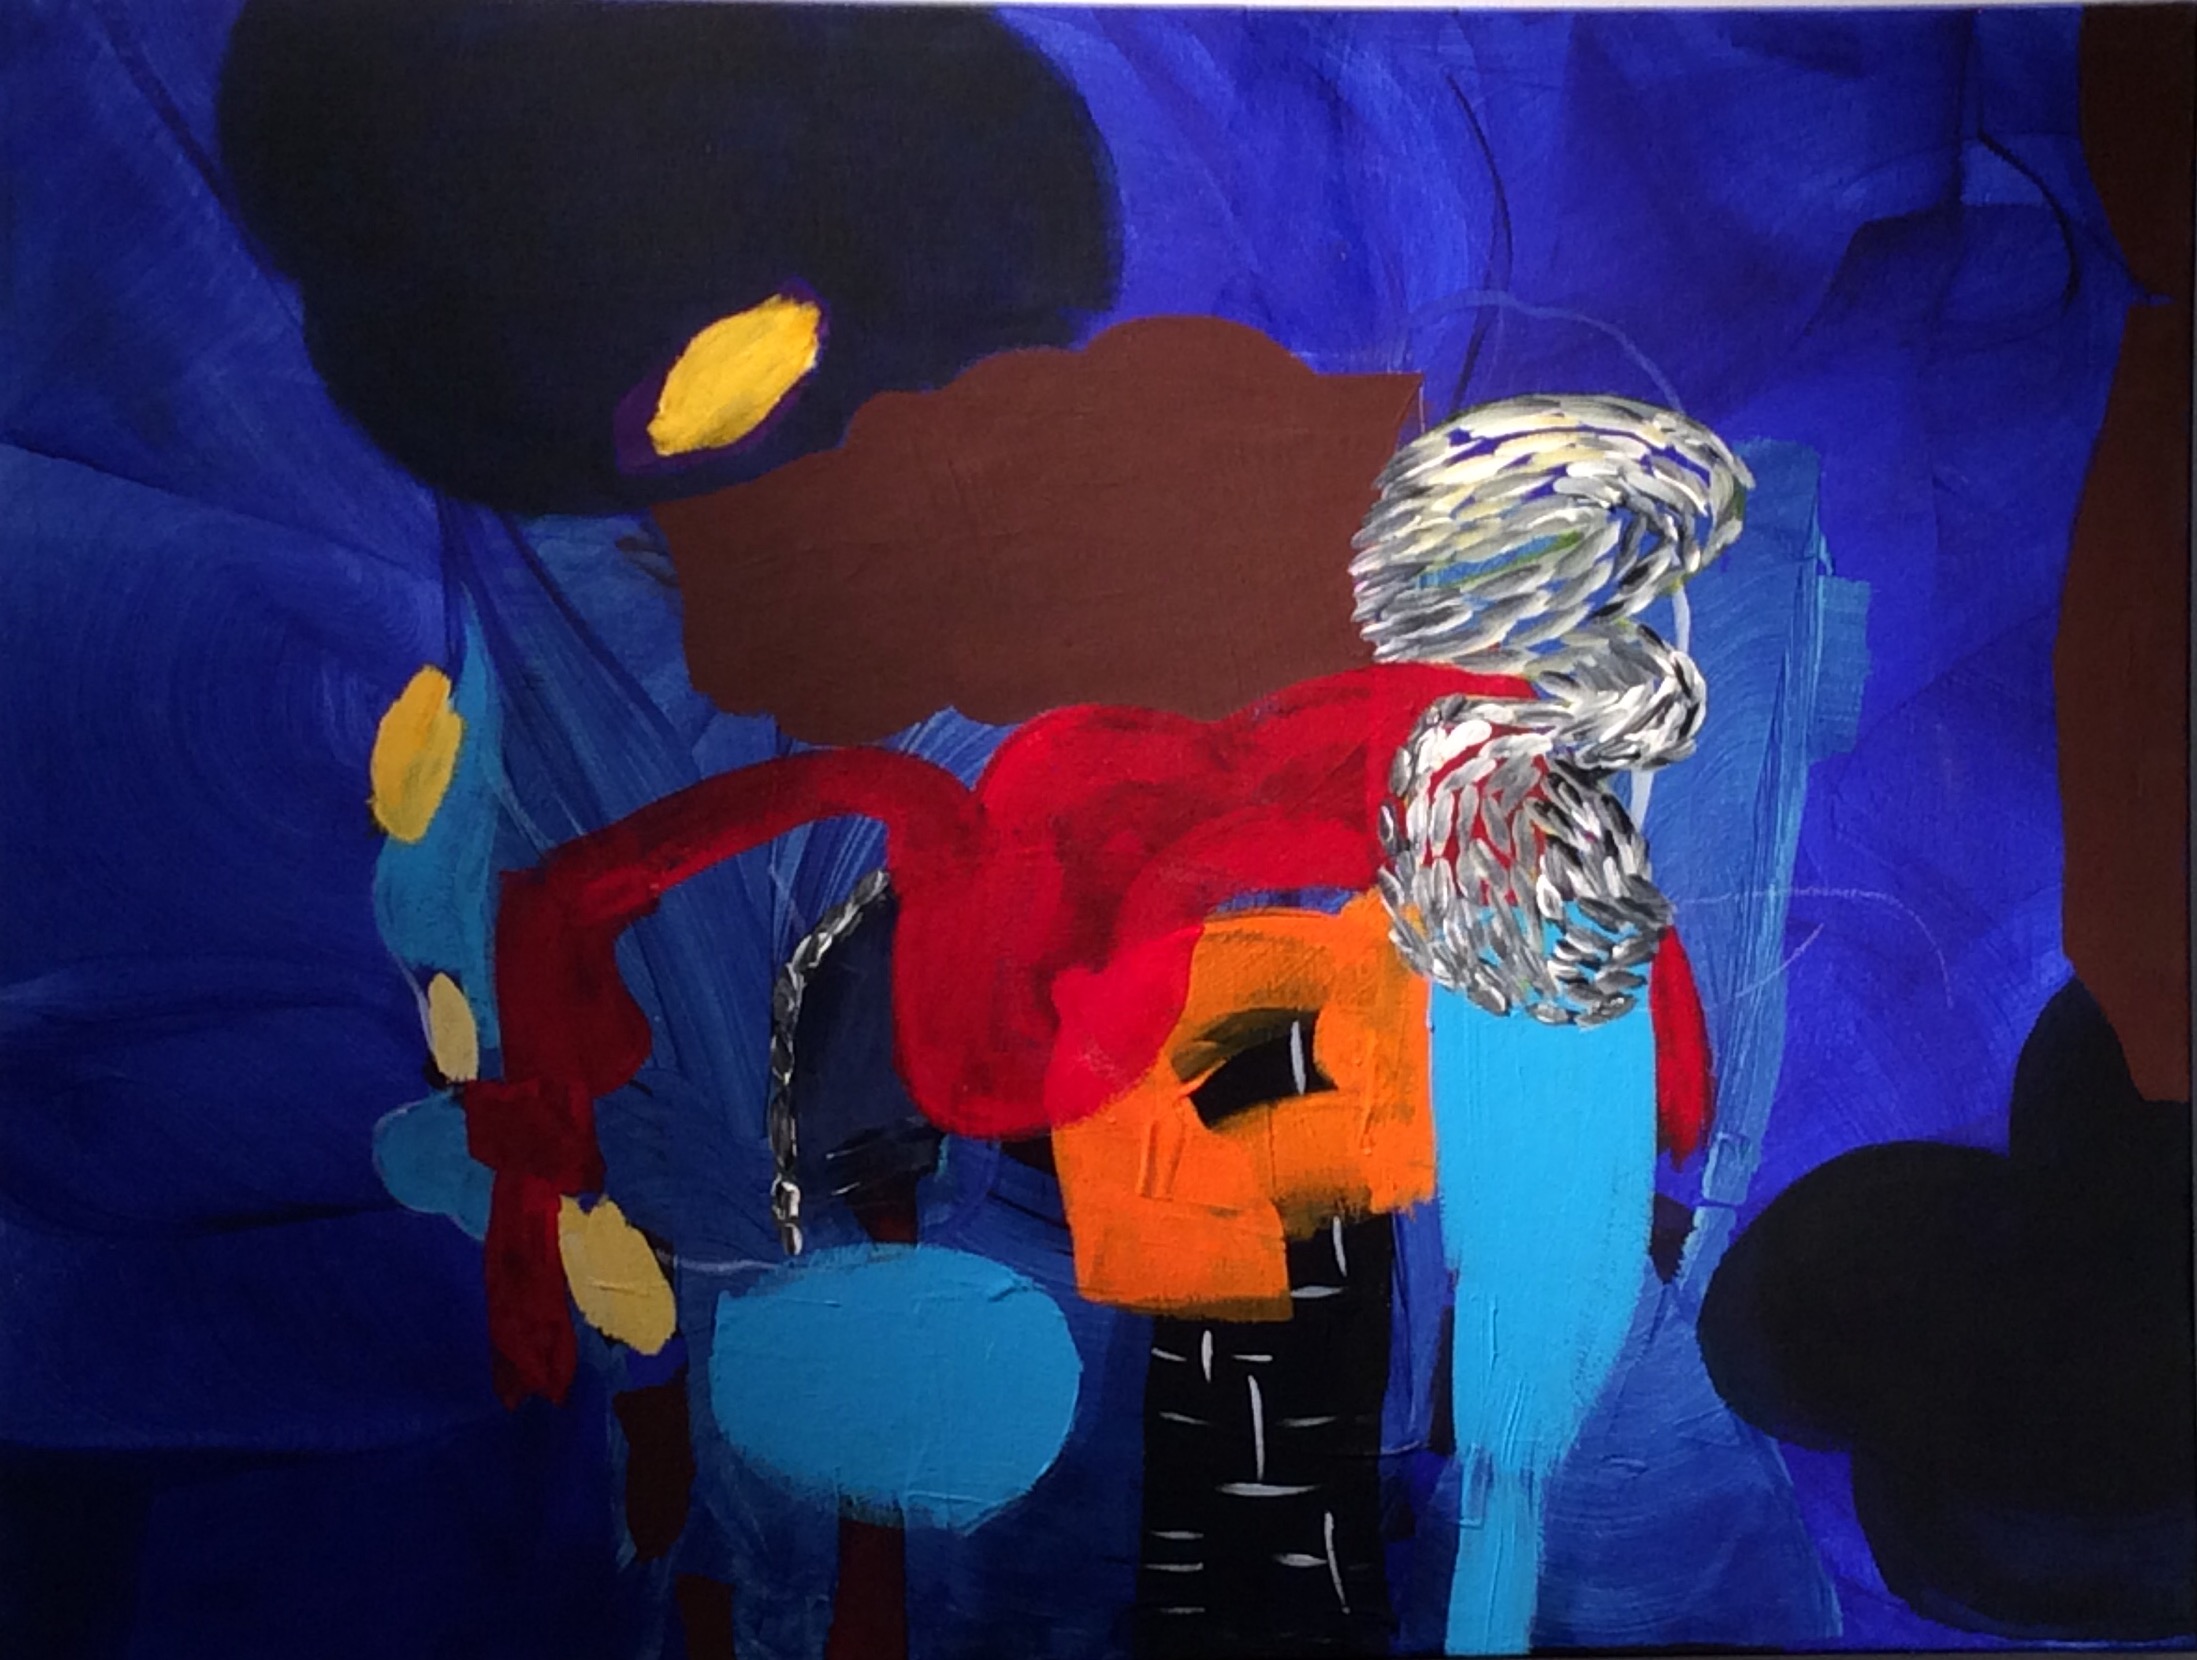
Untitled
View fullsize
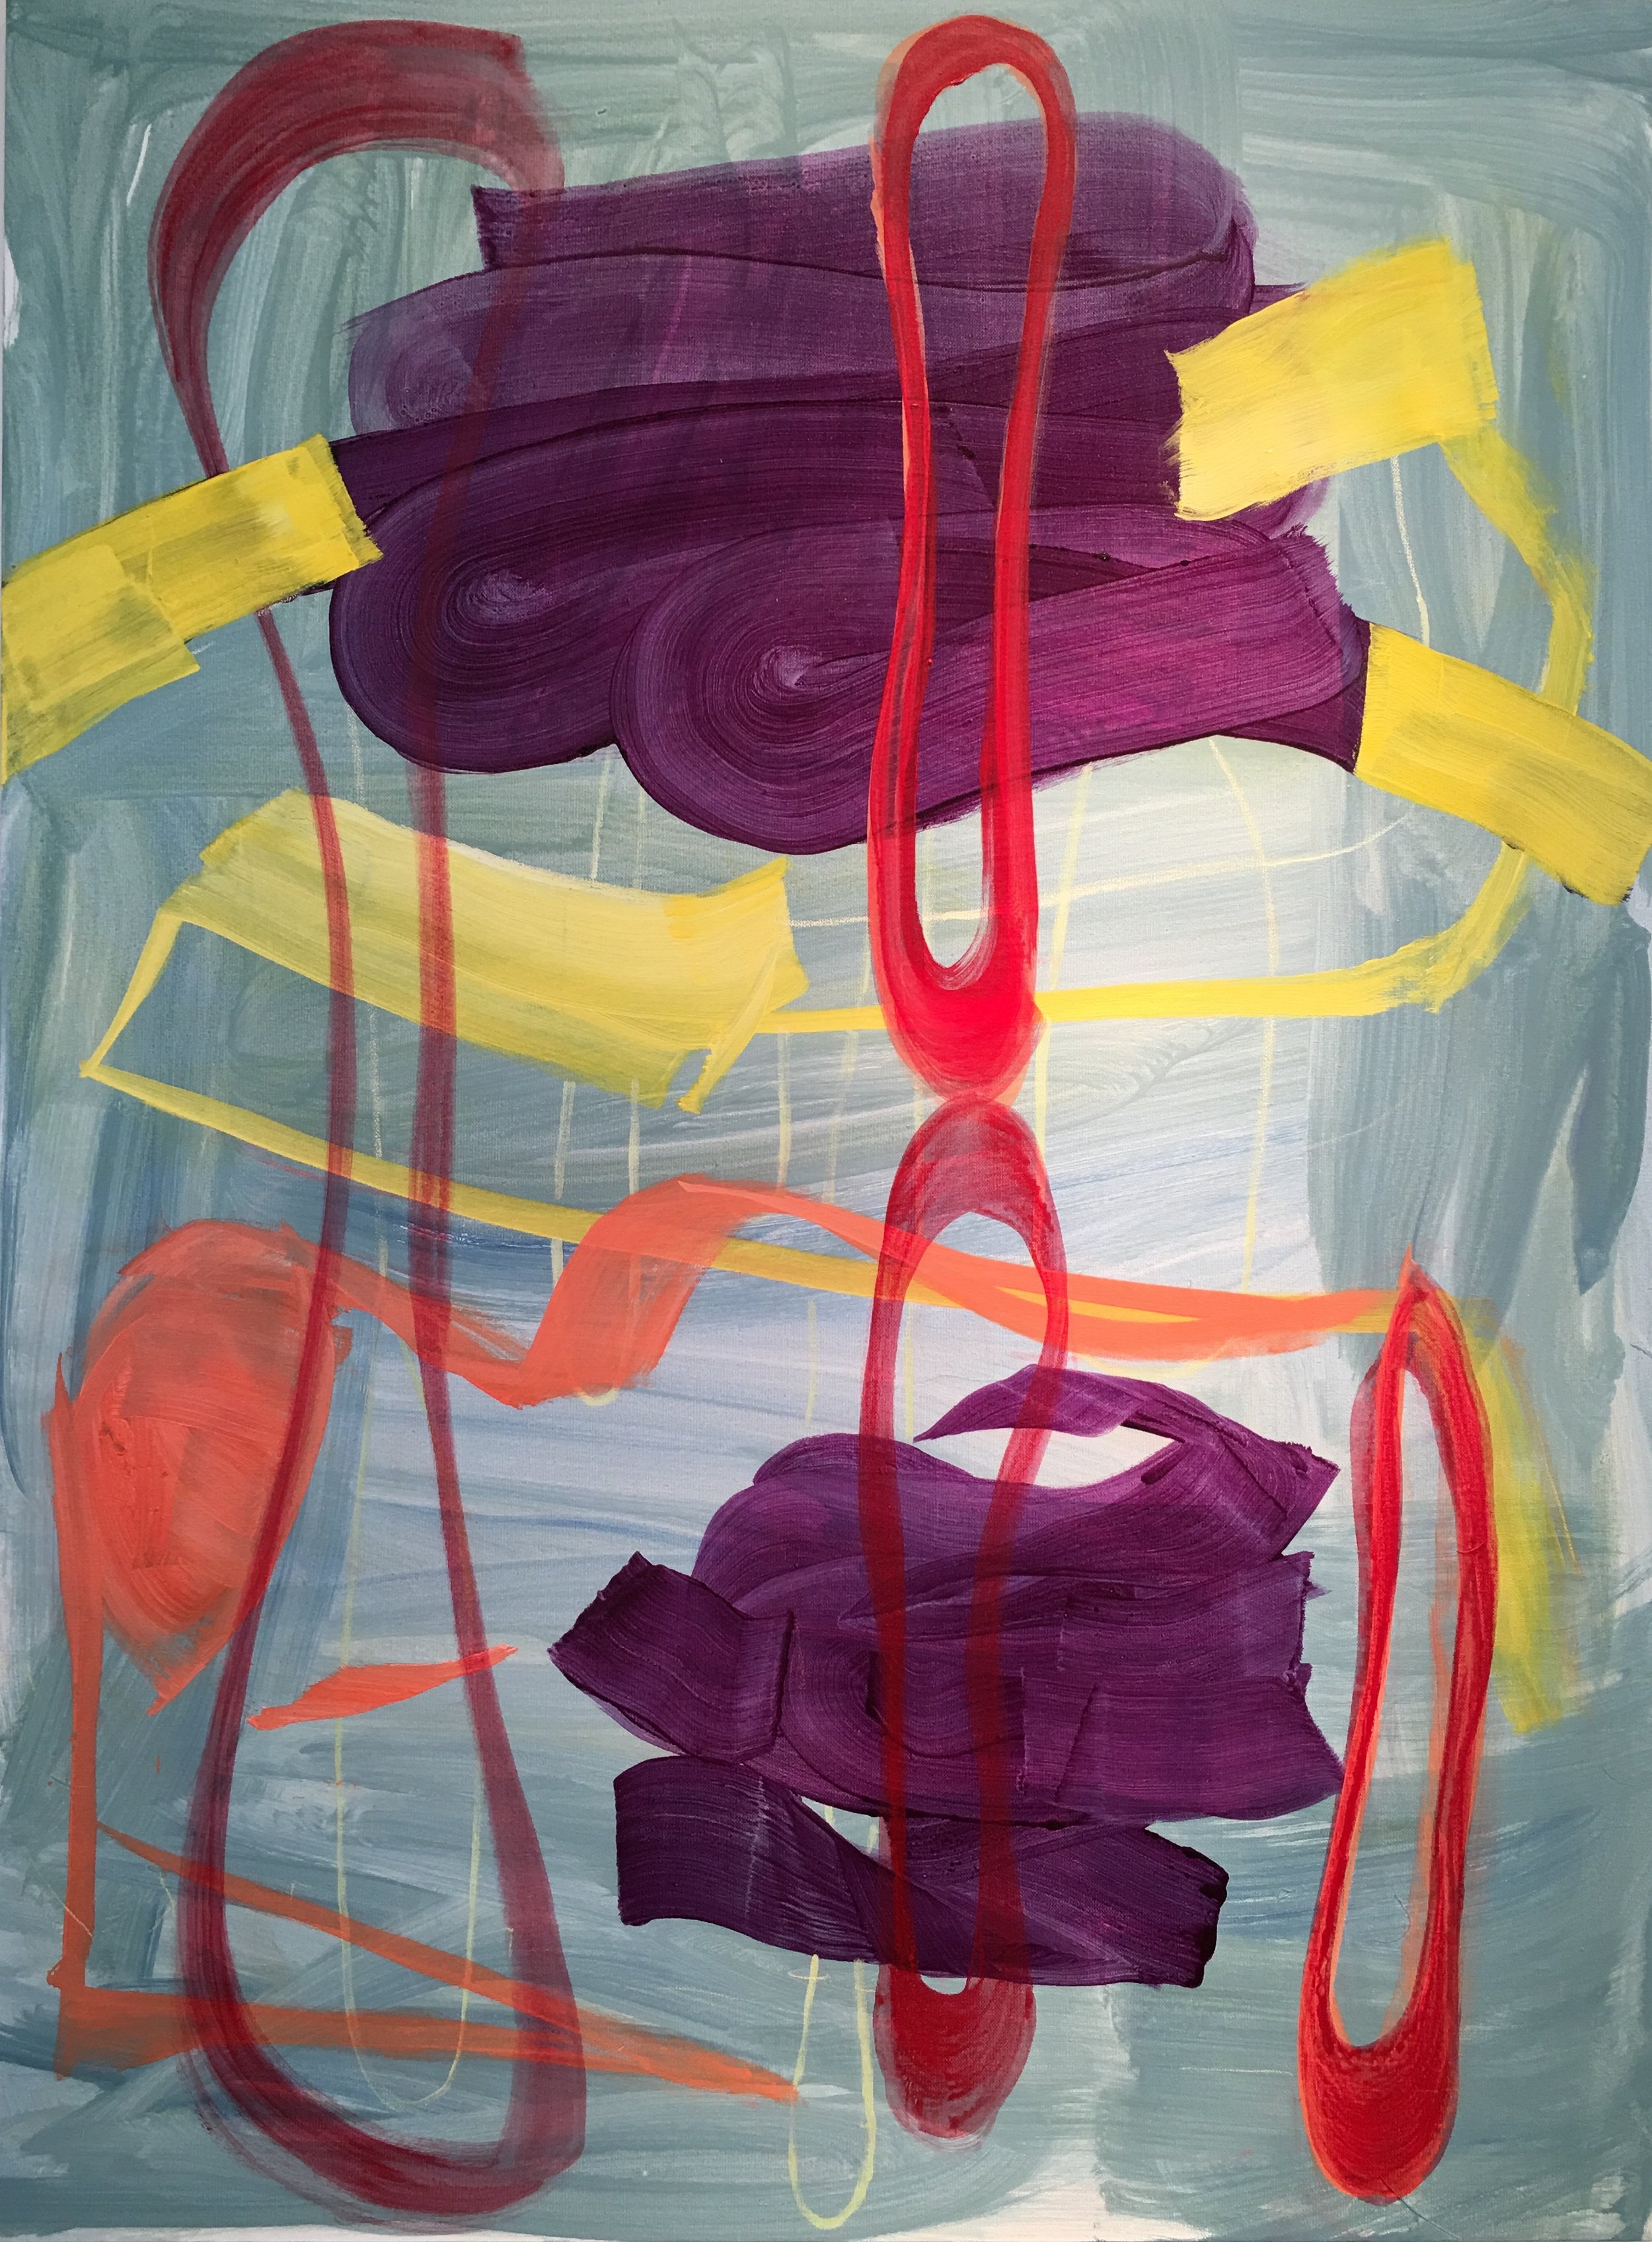
Clusters and Interruptions (Shoal)
View fullsize
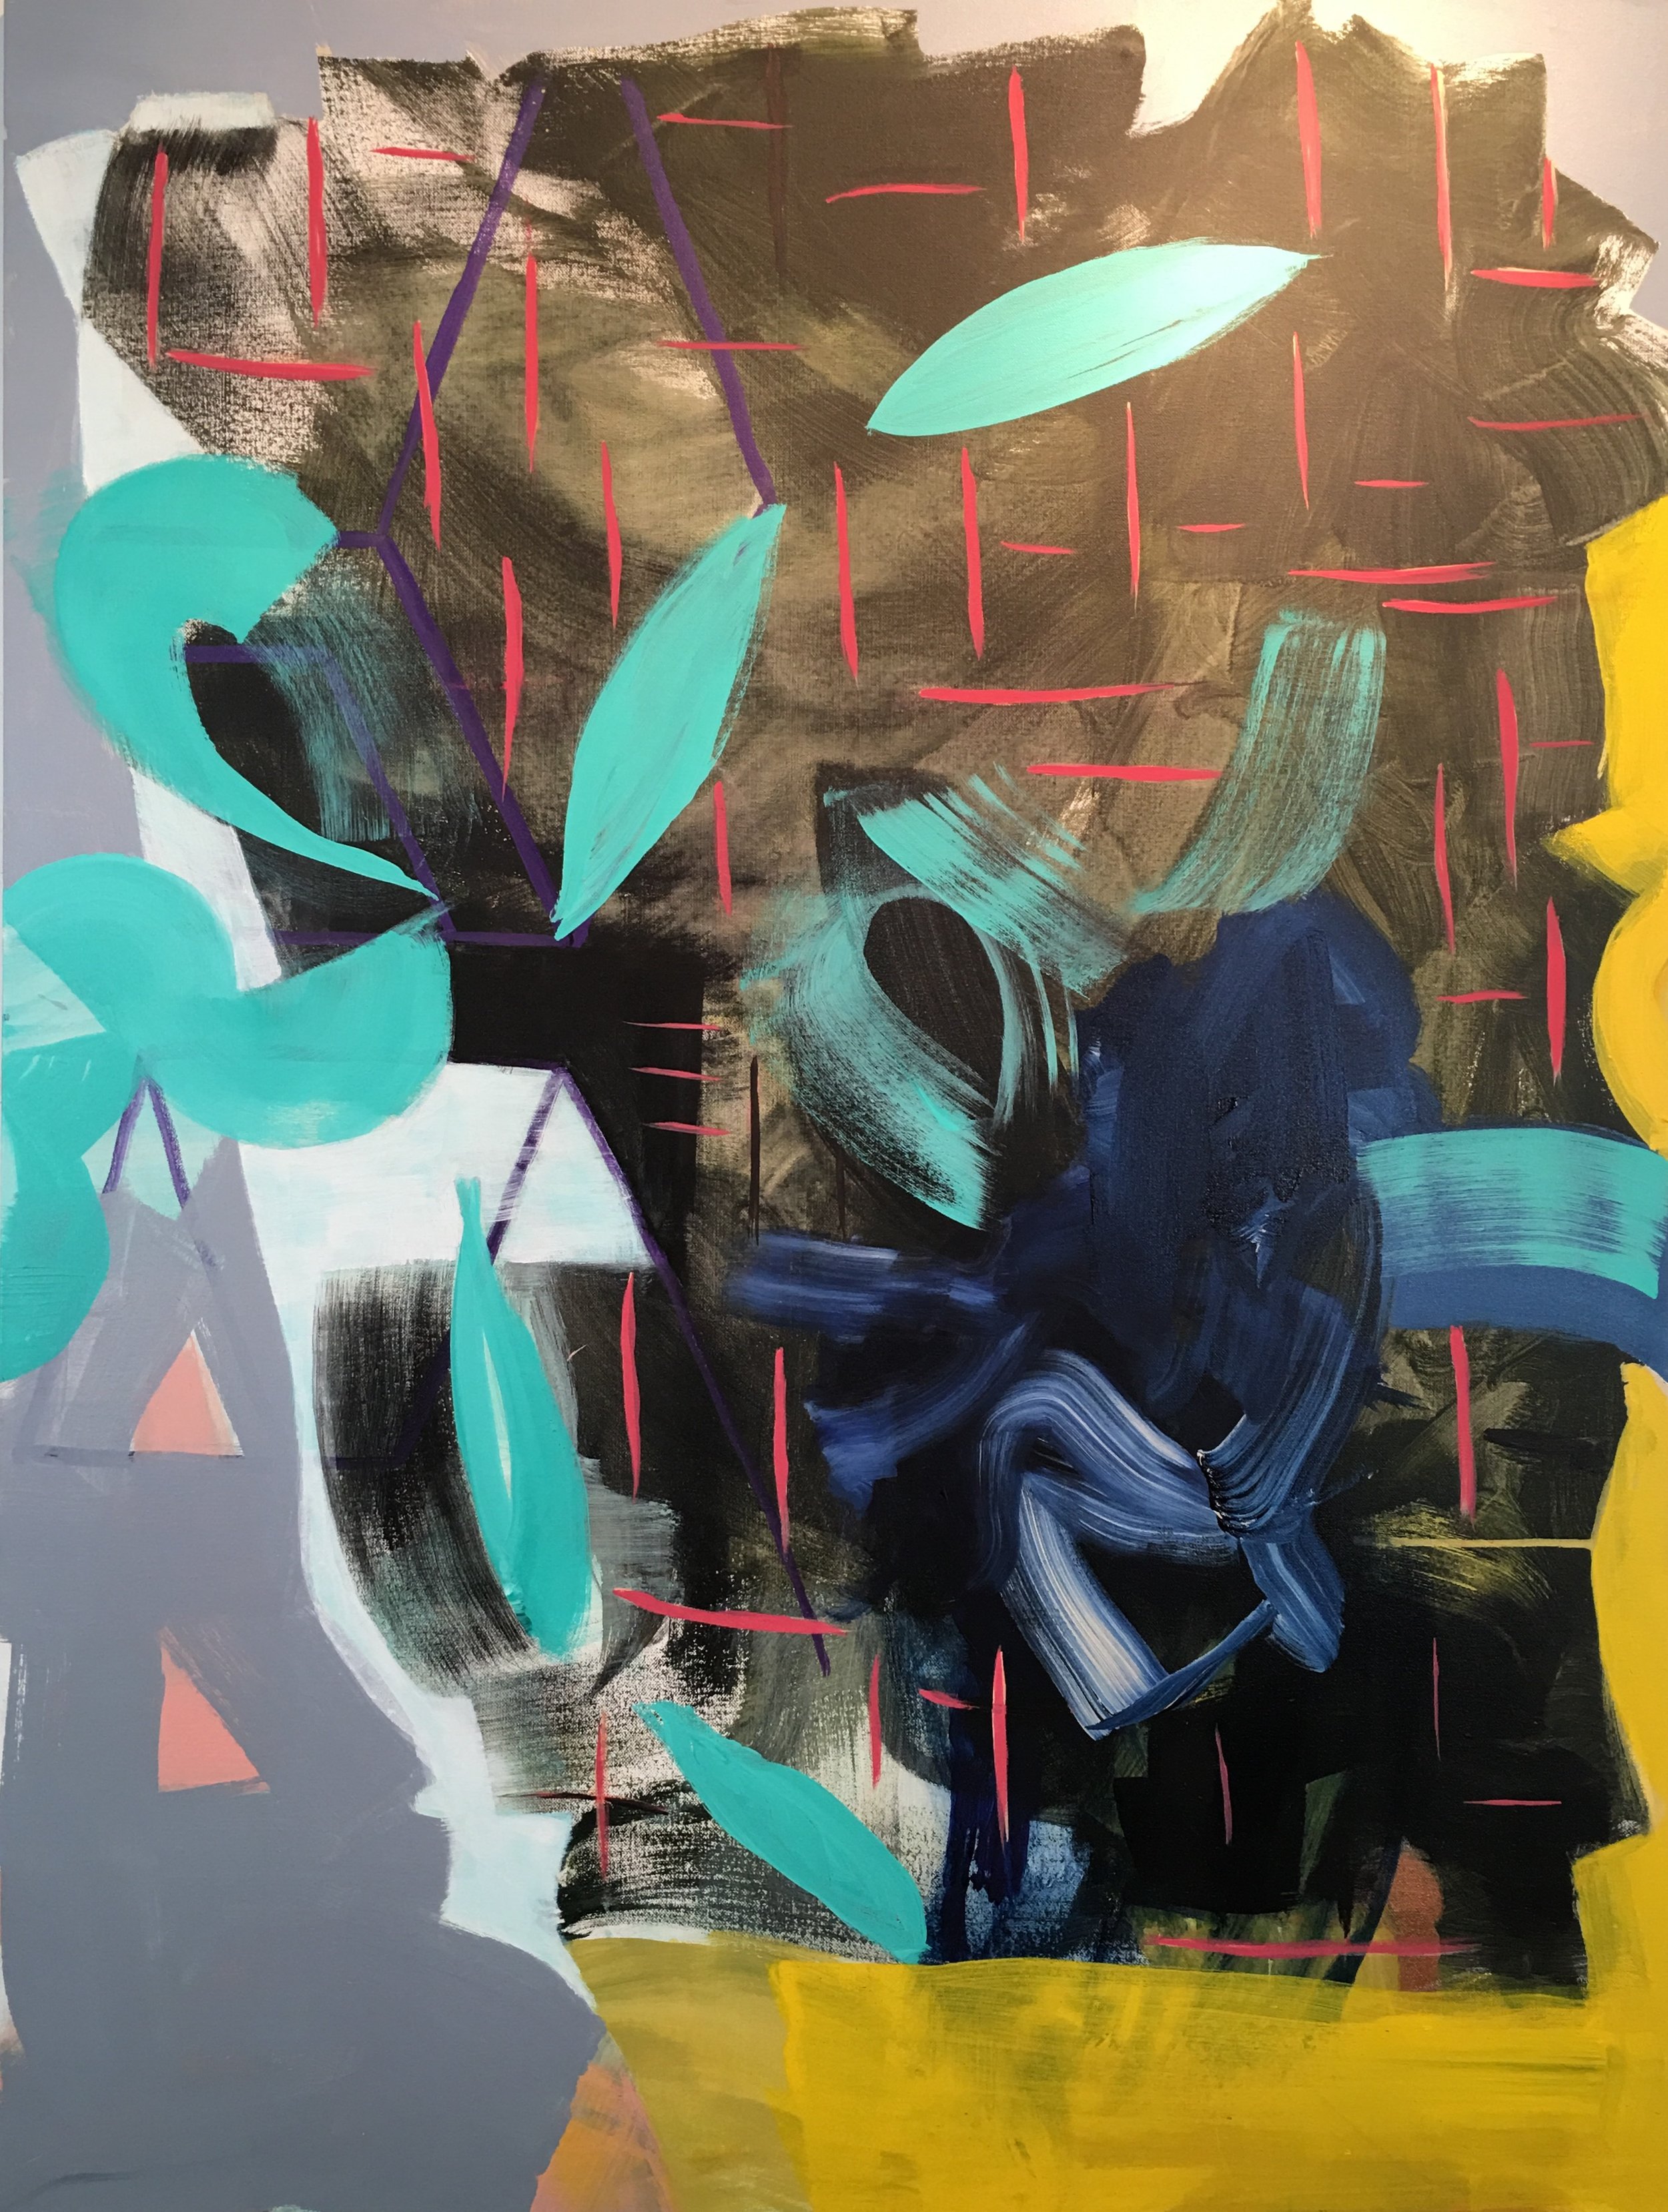
Clusters and Interruptions (Stop It)
View fullsize
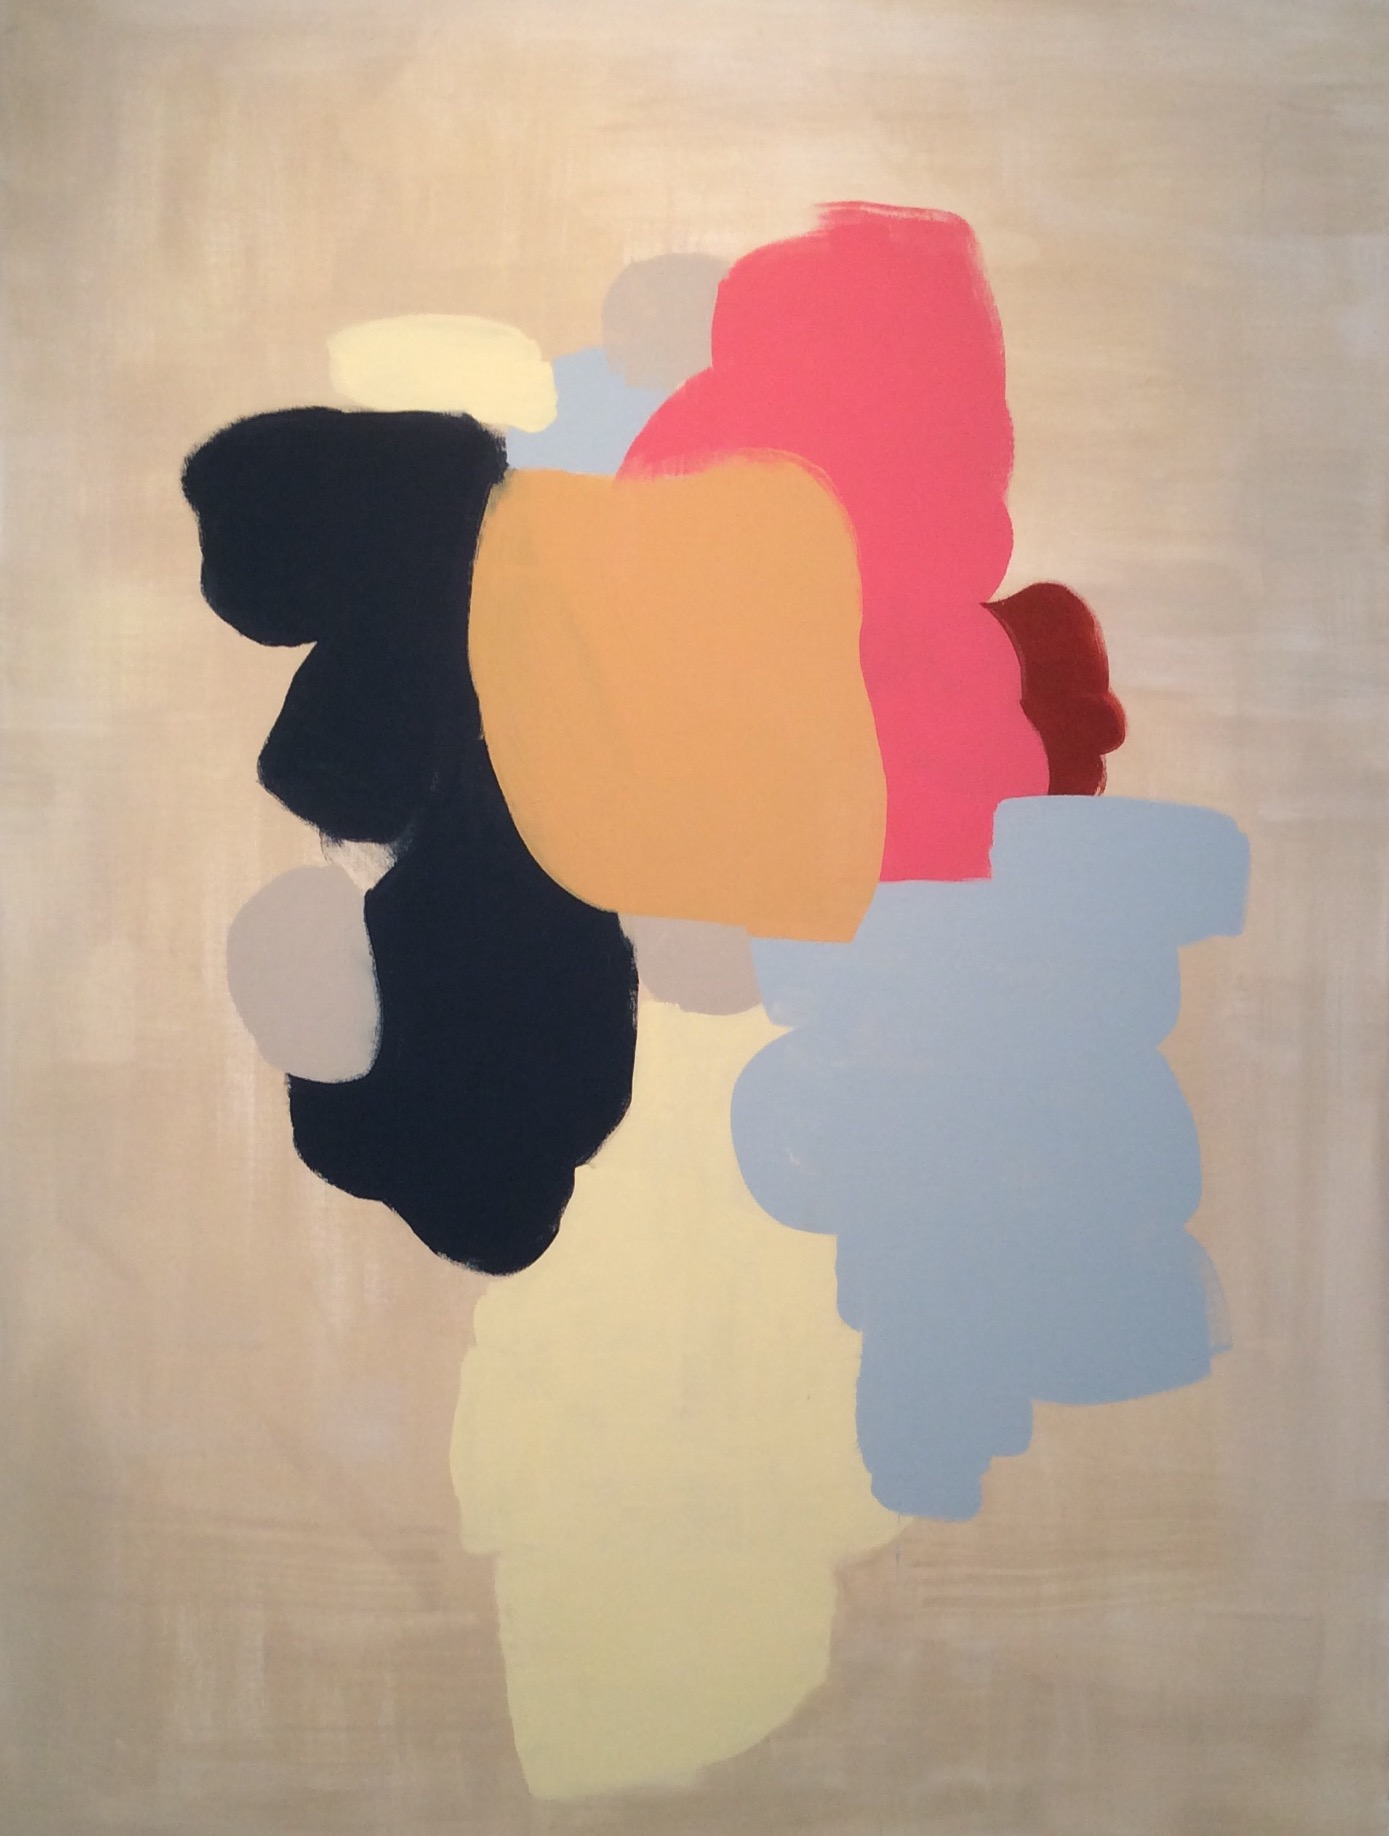
Clusters and Interruptions #1
View fullsize
Clusters and Interruptions #2
View fullsize
Clusters and Interruptions #3
View fullsize
Clusters and Interruptions #4
View fullsize
Clusters and Interruptions #5
View fullsize
Clusters and Interruptions #6
View fullsize
Clusters and Interruptions #7